How to Hide Likes On Facebook

September 19, 2025

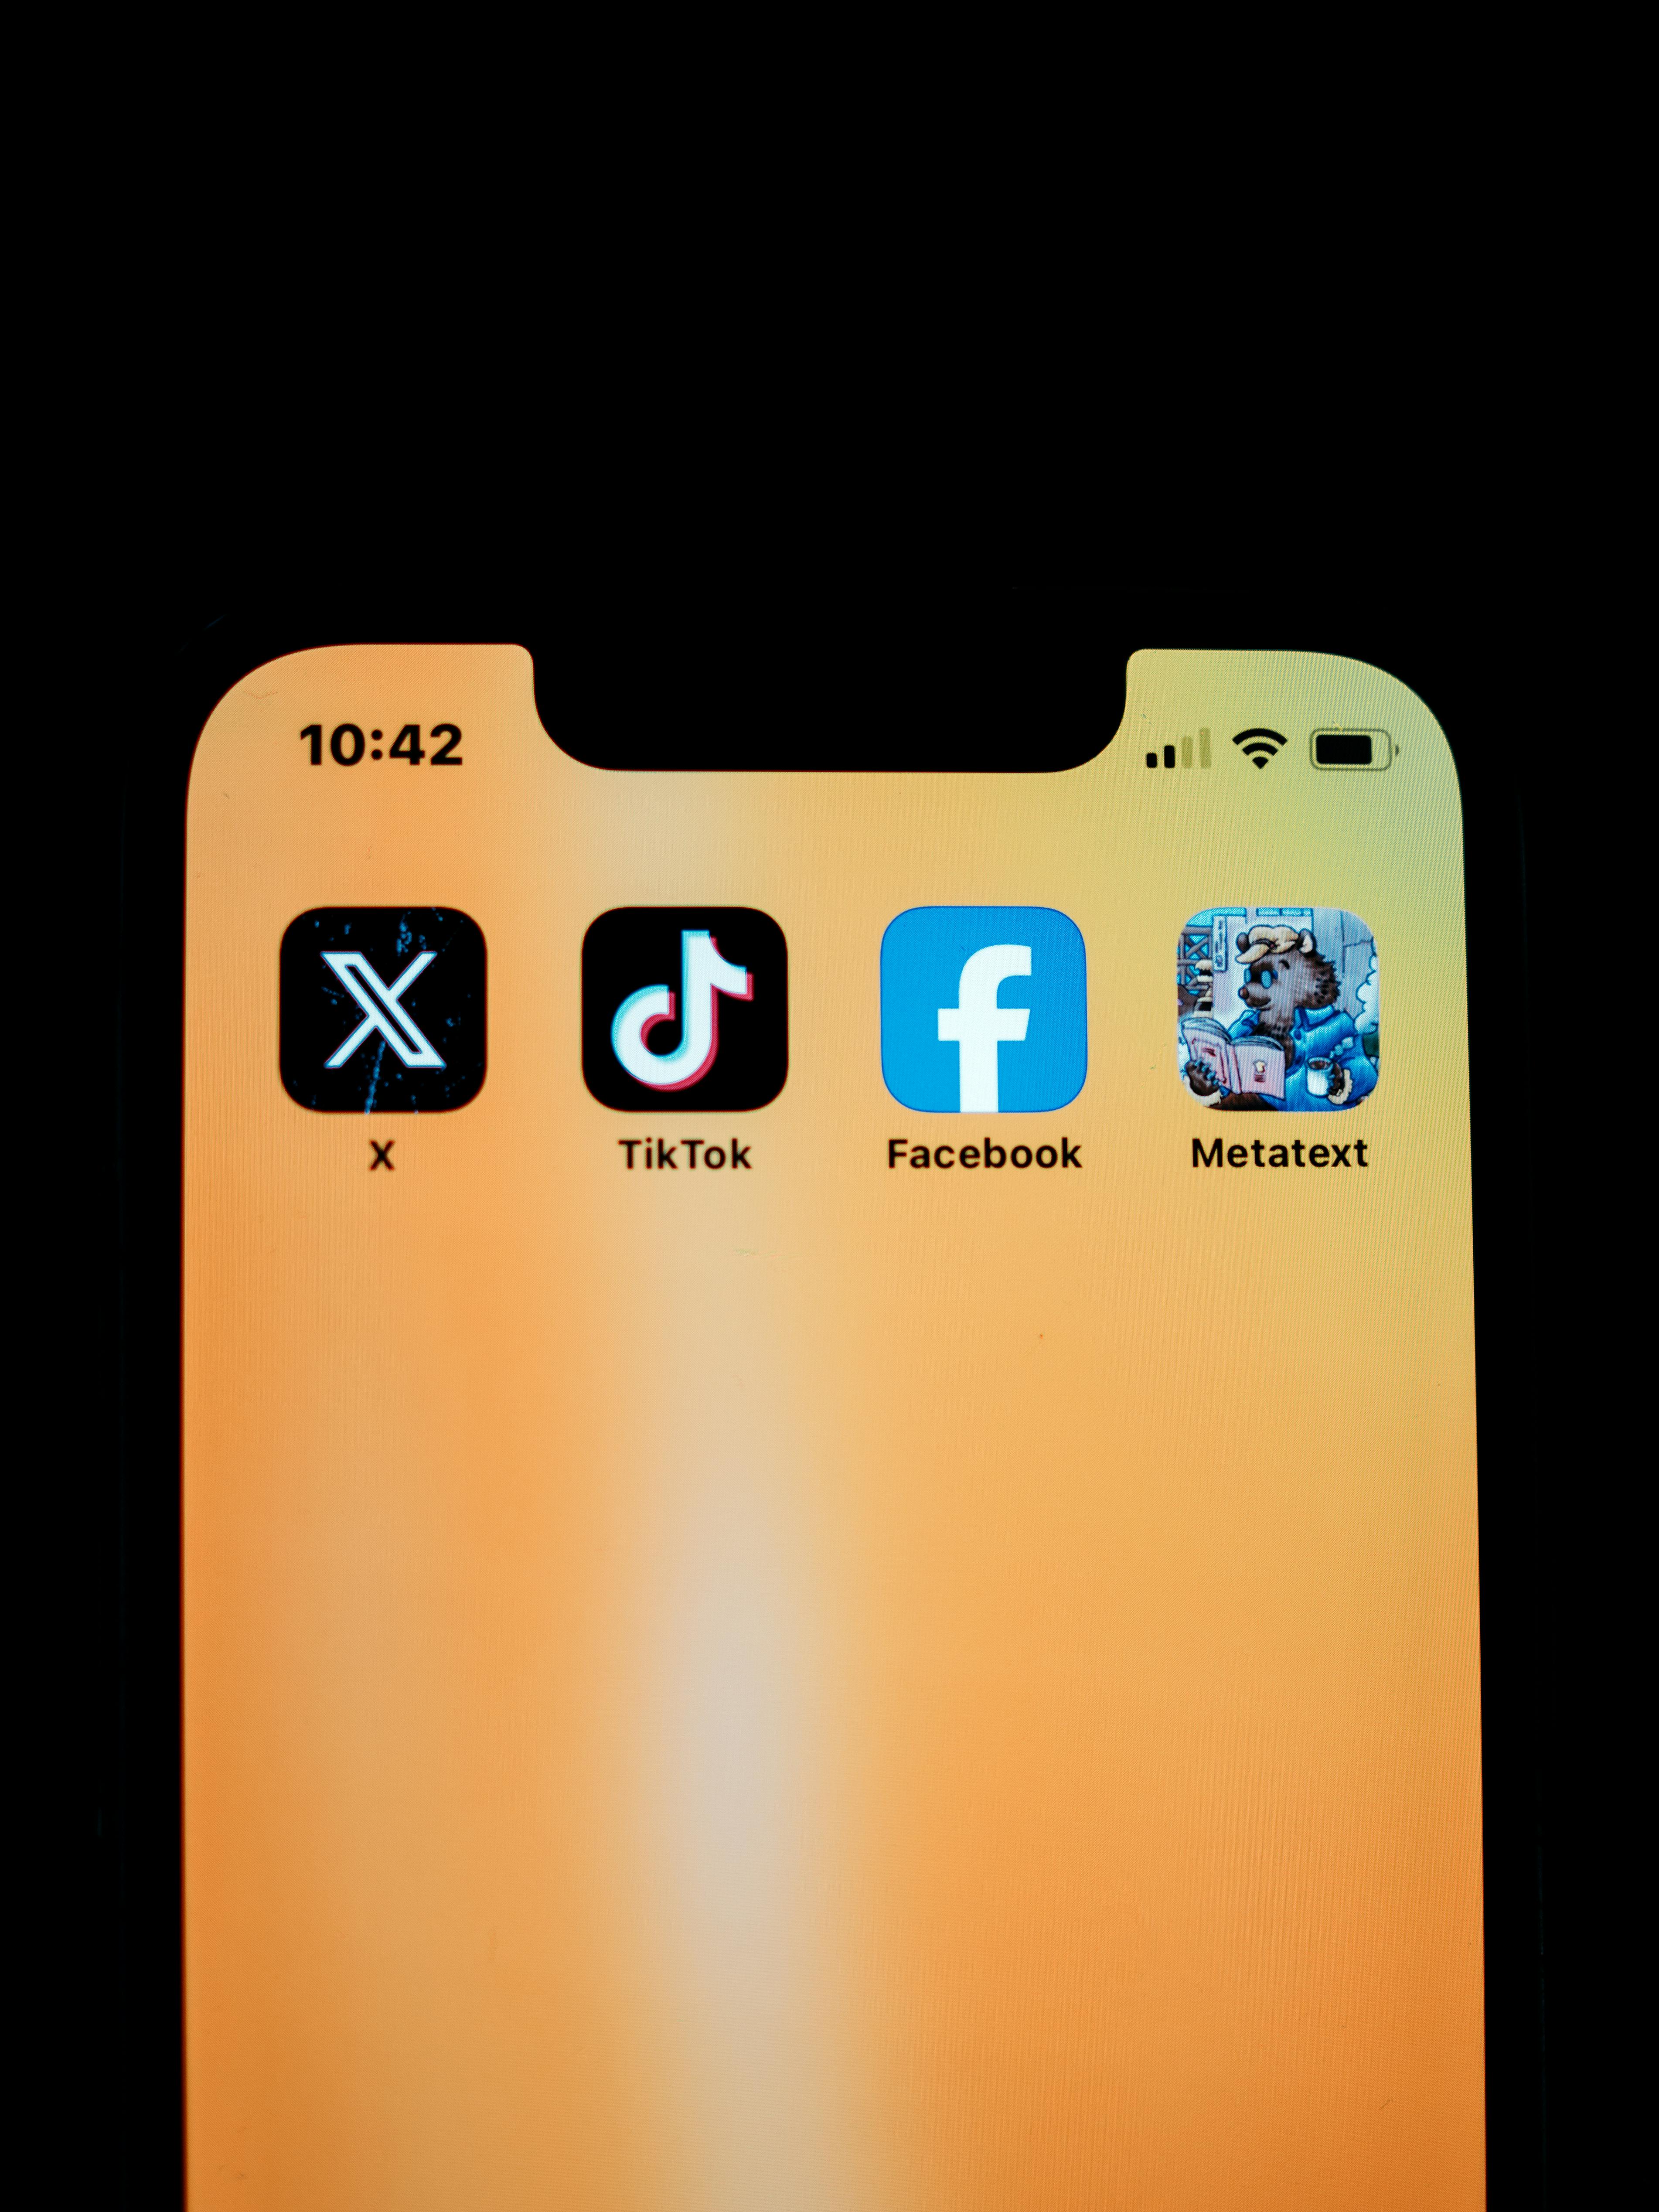
Social media platforms, such as Facebook, owned by Meta, continue to provide users with significant updates that enhance their overall user experience. In recent years, Facebook has taken notable measures such as transforming standard video uploads to Reels, which aligns with the main video content format that’s been a part of Meta’s other owned platform Instagram for the past five years, new search and discovery tools that allows users to find and shop from businesses, and bringing back the ‘Friends,’ tab, which shows content strictly from others that users are followed and connected with.
The platform also lets users personalize specific aspects of their account, such as making their profile private or completely public, turning on push notifications, and being able to choose how they receive them and from what in-app activities, language setting adjustments, and a dedicated section that can be used to update profile and account information, such as profile display name and bio, the email associated with their account, and work and education info. Facebook also allows users to choose whether they want to hide likes on their posts or have them viewable by others across the platform.
People hide the likes on their profiles for various reasons, the most notable ones including reducing stress and anxiety when it comes to content performance and comparing their likes to others. Being able to hide likes can allow users to better enjoy their platform experience without constantly worrying about how well their content does. Hiding the number of likes on your profile is a simple process that can be done in minutes. If you want to take the extra step and learn how to do so that you can better focus more on enjoying other aspects of the app, or wish to have this feature turned off as a personal preference, check out the steps below:
Step 1: Log Into Facebook
The first step you want to take is to log in to your Facebook account by using the email and phone number that’s associated with it, along with your account password. From there, you’ll be taken to the home page of your profile, where you can move on to the following steps to enable this feature. If this is your first time using the platform and you want to turn off this feature for future posts you make, you can select the ‘Create a New Account’ button. Then, you can enter the corresponding information it requests, such as your first and last name, birthday, sign-up email or phone number, along with your gender, which you can opt out of providing.
Step 2: Go to Your Settings
Next, navigate to the ‘Settings & Privacy’ tab on your profile. You can locate this section by tapping on your profile’s ‘Menu’ image, which is situated at the bottom of your app’s home page, next to the notifications bell icon. After selecting the ‘Menu’ option, you’ll be directed to a new screen that shows your account and profile preferences and settings. On this page, you’ll see the ‘Settings & Privacy’ tab to select. From there, a new dropdown menu will appear that you’ll need for the next step. If you’re using a web browser, you can find the ‘Settings & Privacy’ tab by clicking on your profile’s image at the top right-hand corner of your screen for the same dropdown menu.

Step 3: Select ‘Settings’ Again
Then, click the new ‘Settings’ tab that appears under the ‘Settings & Privacy’ section you previously selected to go to the next page. On the web browser, the dropdown format itself appears in the same manner, only the layout formatting looks slightly different compared to the app.

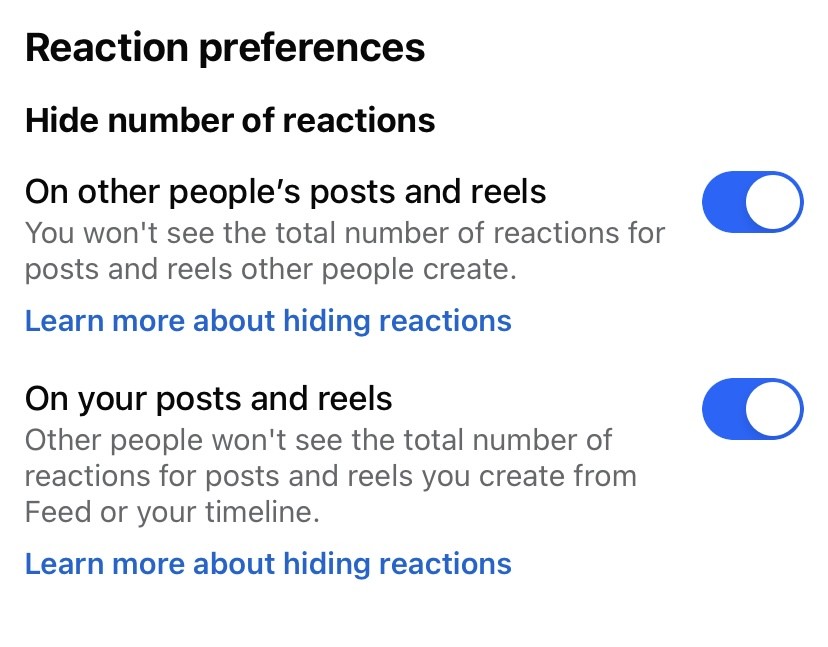
Step 4: Choose Your ‘Reaction Preferences’ and Turn On the Hidden Likes Feature
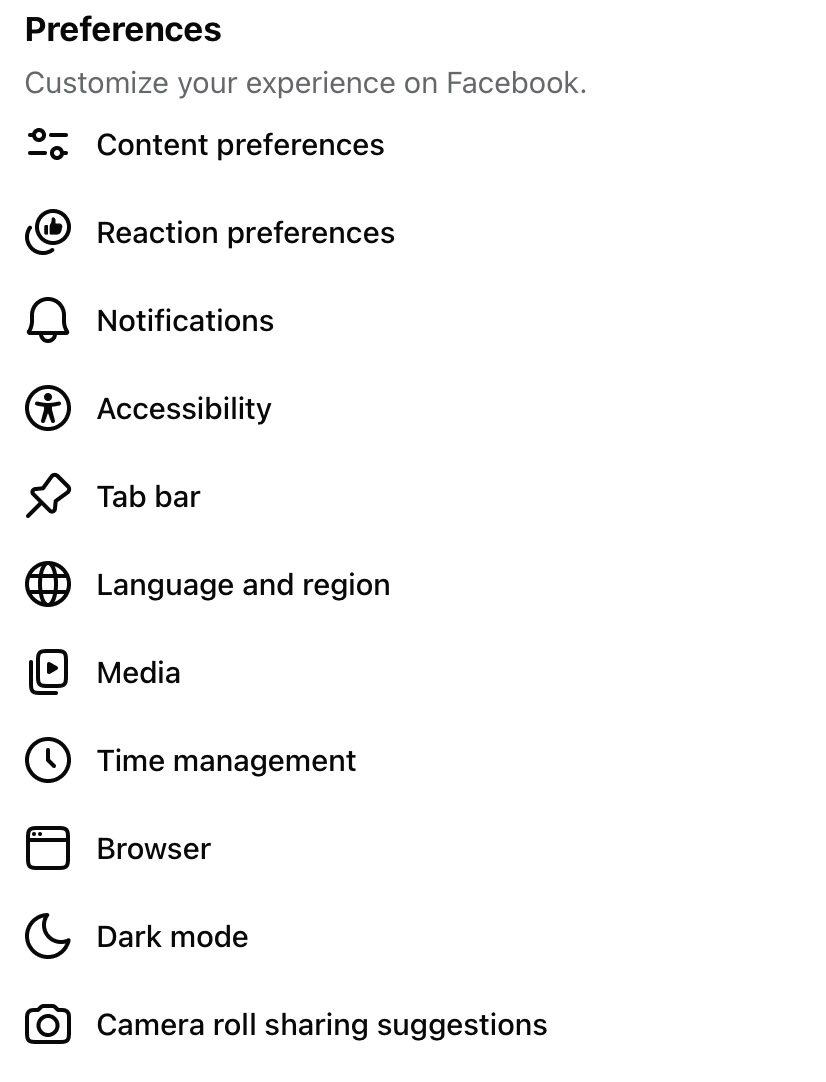
After clicking ‘Settings’ again, scroll down to the tab that says ‘Reaction Preferences.’ This tab is located under your ‘Preferences’ section, alongside other features such as your specific content preferences and notification settings. On the web browser, the ‘Reaction Preferences’ tab appears on the left-hand side of your screen and is also a part of ‘Preferences.’ Next, click on the ‘Reaction Preferences’ tab, and another screen will appear that shows two buttons to turn your likes on and off: one for your own posts and one for others.
Swipe the button next to where it says ‘On your posts,’ which will turn blue once enabled. If you want to hide the number of likes you see on others’ posts, follow the same steps for the ‘On posts from others’ tab. When likes are turned off for your account, other users won’t be able to view them on your profile. However, the number of reactions that show up on your posts will still be visible in other places, such as in community groups and for Reels. When you turn off the number of likes you can see for others, you won’t be able to view them on posts that appear across the platform, such as on your ‘News Feed’ and in groups. You’ll still be able to view these reaction counts in other areas, like on Facebook Marketplace and on Reels.
Tips for Managing Your Facebook Account
As with any social media account, it’s important to manage it according to how you see fit while also following a platform’s rules and guidelines that protect your and others’ user safety and privacy. Here are some general tips you can reference to better manage your account:
1. Account Privacy
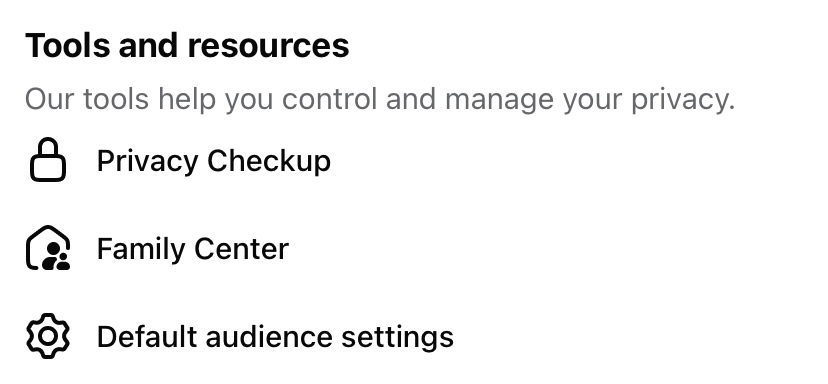
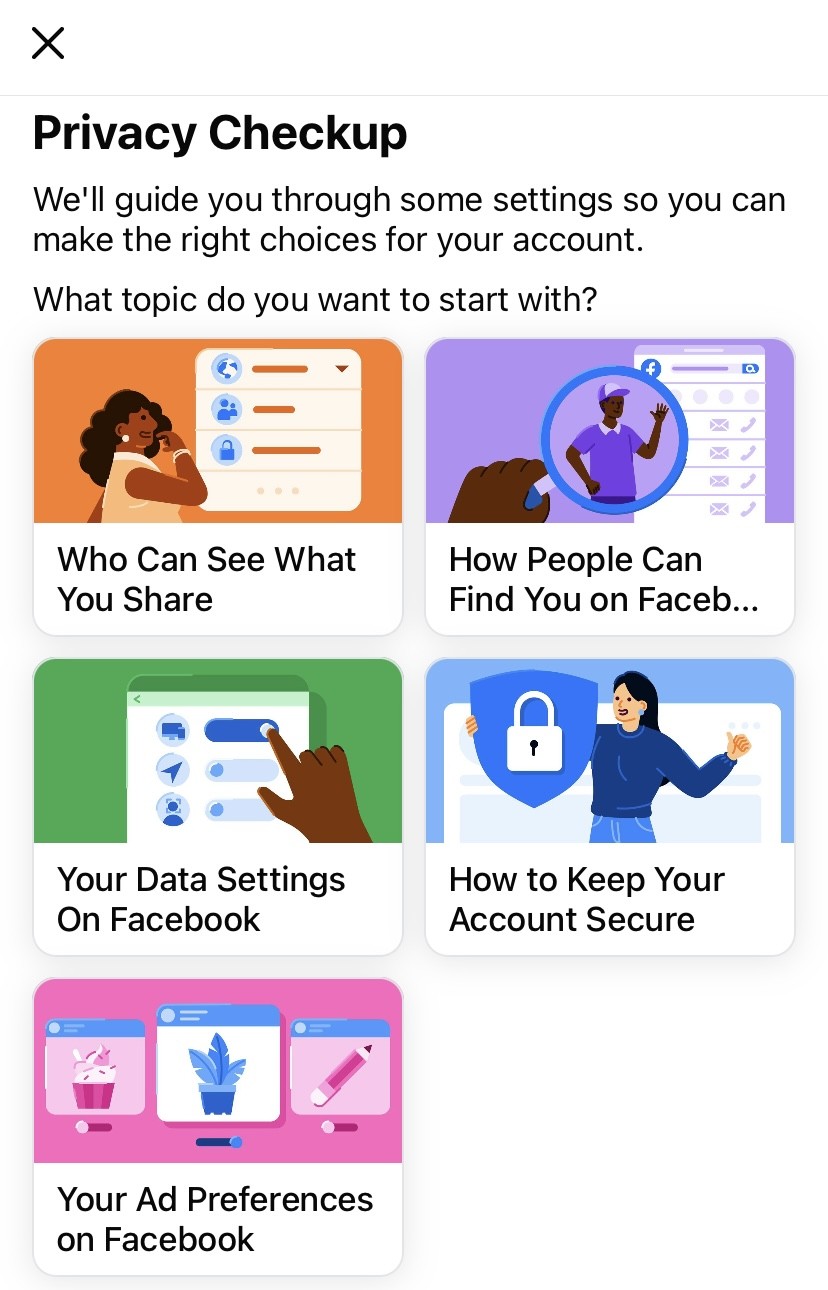
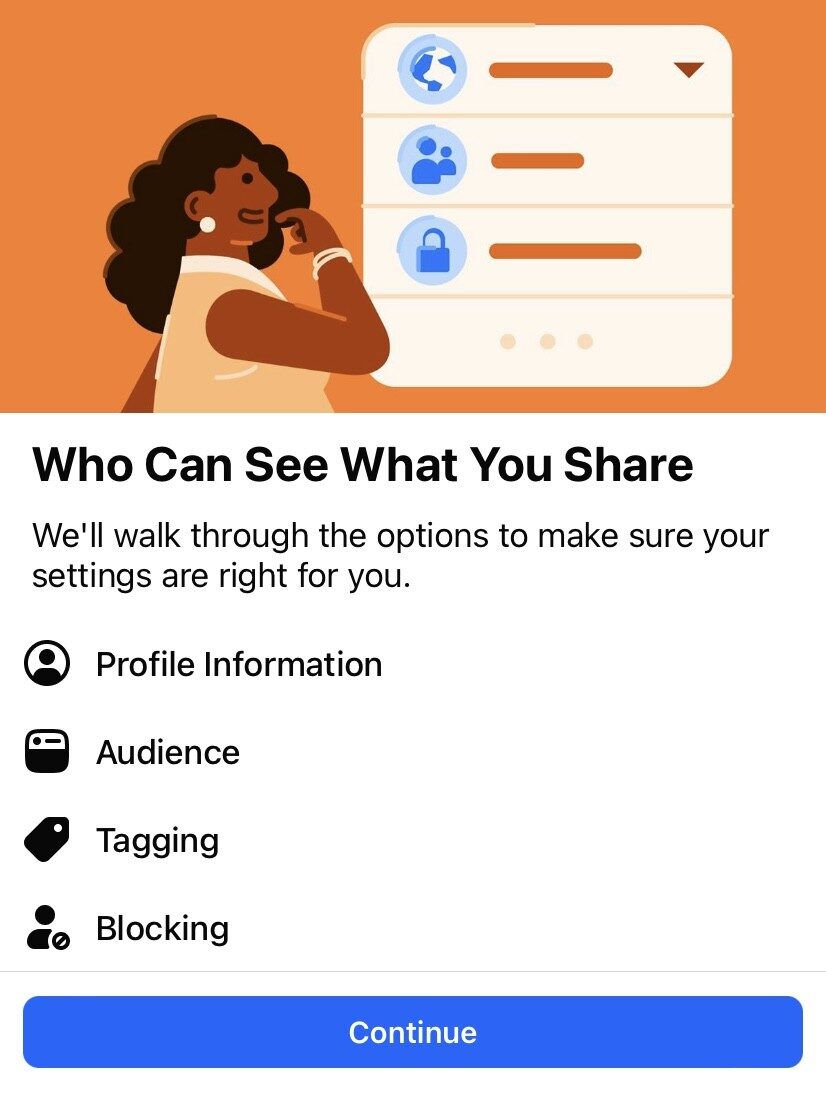
If you want to make your account private and only viewable to mutual people you’re connected with on the platform, you can turn on this privacy feature by going to the ‘Settings & Privacy’ tab and selecting the ‘Privacy Checkup’ tab located underneath ‘Tools and Resources.’ You’ll then be directed to another screen that shows different tabs that say, ‘Who Can See What You Share,’ ‘How People Can Find You on Facebook,’ and more. Select the ‘Who Can See What You Share’ tab. The next page will show you a summary of the privacy settings along with a ‘Continue’ button. Click it to go to the next screen.
Then, confirm the profile information you already have saved as part of your account, such as your email address, birthday, the current city you reside in, and whether other users can view your friends list connections. You can click the arrow next to each tab and update your profile settings from ‘Public’ to other privacy settings, such as ‘Only Me’ or ‘Friends.’ The same can be done on the following ‘Audience’ and ‘Tagging’ pages, which manage preferences, such as who can view your posts, stories, and the posts you’re tagged in on your profile. The final step will allow you to block other users from your account by typing in their name in the search bar and selecting the ‘Block’ button next to their profile.
2. Updating Your Notifications
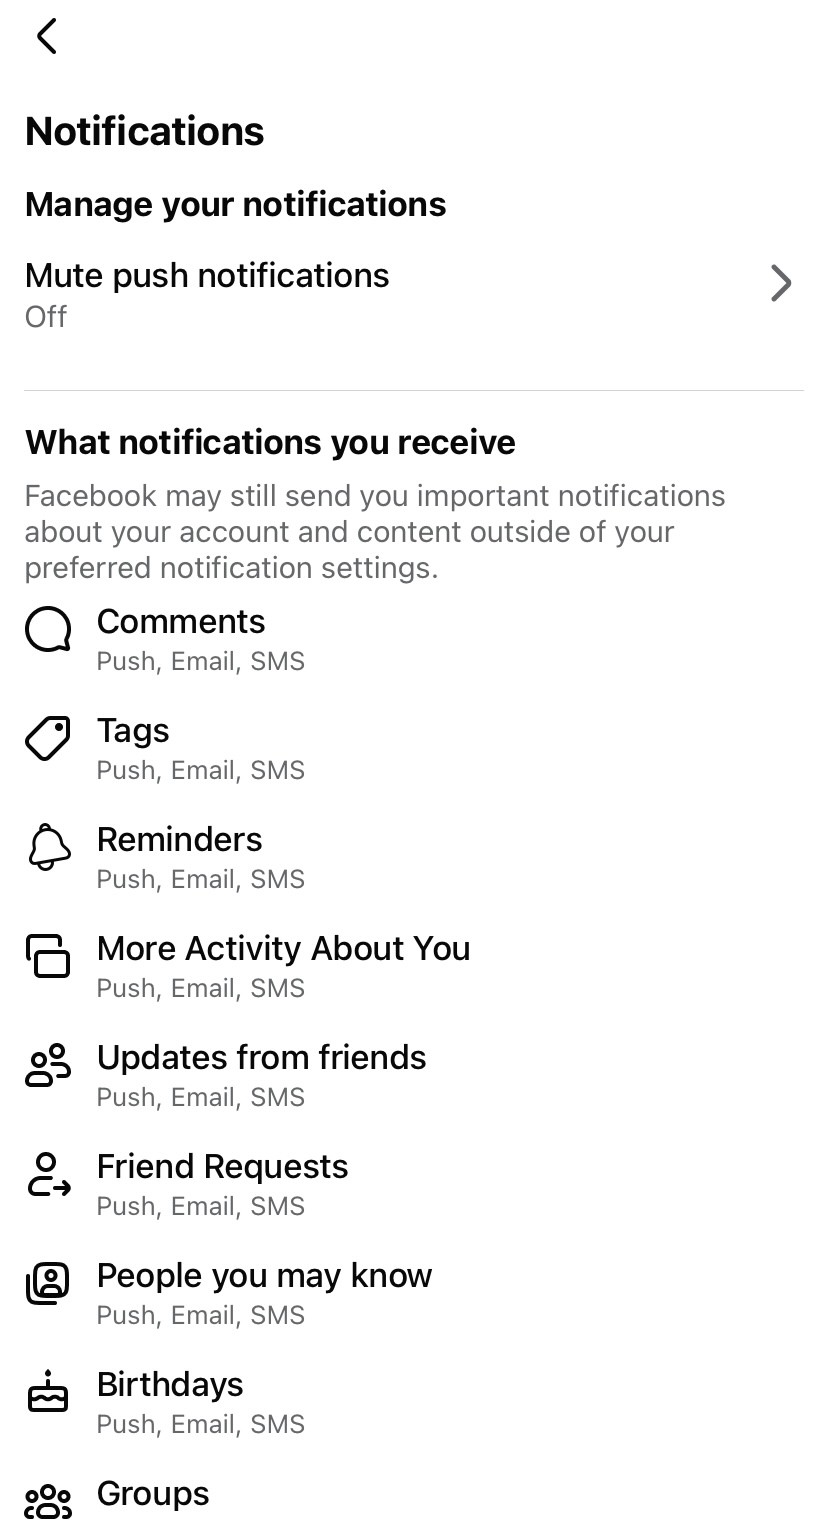
Managing your notifications in the app allows you to manage the types of notifications you receive and how you receive them. You can change your notification settings at any time by going to ‘Settings & Privacy,’ then ‘Notifications,’ located under the ‘Preferences’ menu on your account. You’ll then be able to update notifications from comments, tagged posts, friend requests, and more, and select whether you want to receive them via push notification that appears on your phone, by email, or SMS message. With this feature, you can also ‘mute’ or turn off how you receive push notifications in general for a specific period of time, such as by 15 minutes, an hour, or two hours by selecting the ‘Mute push notifications’ tab at the top of your notifications screen.
3. Managing Your Friends List
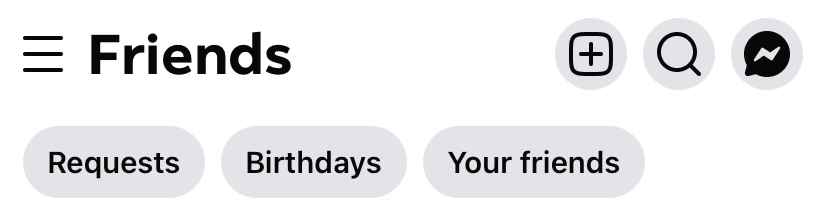
You can view and manage the people you’re friends with on the app by going to the ‘Friends’ tab on the menu screen of your account. From there, you can select the ‘Your Friends’ option to see who you’re connected with and how long you’ve been friends with them. By clicking on the horizontal menu dots across from their profile name, a pop-up will appear, which allows you to take certain actions, such as messaging them, unfollowing, blocking, or unfriending them. Unfollowing another user means that you won’t be able to see their posts, but you’ll still remain friends with them on the app. Unfriending someone means removing them as a friend connection entirely, and blocking allows you to hide your account visibility from them completely so that they can’t see your profile, view your posts, or message you, among other privacy measures. In the ‘Friends’ tab, you can also view and manage new friend requests and the birthdays of people you’re already connected with if that’s something they share as part of their profile.
Take a look at our news on Marketing & Sales