How To Sell on Amazon in 6 Steps

September 16, 2025

These days, there are a lot of tools and resources that make it easy to start your own business, especially in the digital space. As of this year, there are approximately 2.7 to 3.5 million businesses that have an online store in the U.S. These numbers can be attributed to the rise of e-commerce storefronts and digital marketplaces that continue to grow in popularity. In total, the global e-commerce market is projected to reach a value of $4.8 trillion by the end of 2025. By 2027, around 23% of all retail sales worldwide will be conducted online.
Many aspiring entrepreneurs are taking advantage of this growth by starting online stores of their own on platforms like Amazon. Amazon makes it easy to start and operate your own storefront thanks to the resources it offers for small business owners. Independent business owners also continue to turn to Amazon to sell their products due to the platform’s high success rate for sellers and how it’s easy to reach a large consumer audience, since it ships to over 100 countries and regions.
There are currently 1.9 million active sellers who use Amazon, and this number is projected to rise by another 1.3 million this year. The e-commerce giant reported that independent sellers garnered an average of $290,000 in annual sales in 2024. Over 55,000 sellers achieved more than $1 million in sales that same year.
If you want to learn how to set up your own Amazon store, this article will walk you through everything step-by-step, from how to determine the best products to sell, how to build out your storefront, how to engage with customers, and more.
Step 1: Figure Out What You Want to Sell
With millions of products sold every day, it’s easy to get caught up deciding on what’s best to sell. But, by doing proper research and honing in on your own ideas, it’ll be easier to make an informed decision. To start figuring out what you actually want to sell, you can browse Amazon’s site to look for the most popular and best-selling items in various categories, like fashion, beauty, electronics, and home decor.
It’s also best to conduct outside research by looking at different trends and market reports in industries that are associated with the products you want to sell on sites like Statista, NielsenIQ, and Shopify’s blog. Along with your research, you’ll also want to determine what you’ll need to manufacture your products, factoring in general overhead and production costs.
Step 2: Register Your Business
Before selling on Amazon, it’s important to register your business for tax purposes and liability reasons. Registering your business allows you to have your own business bank account, which is essential for keeping your personal and business finances separate and filing business taxes.
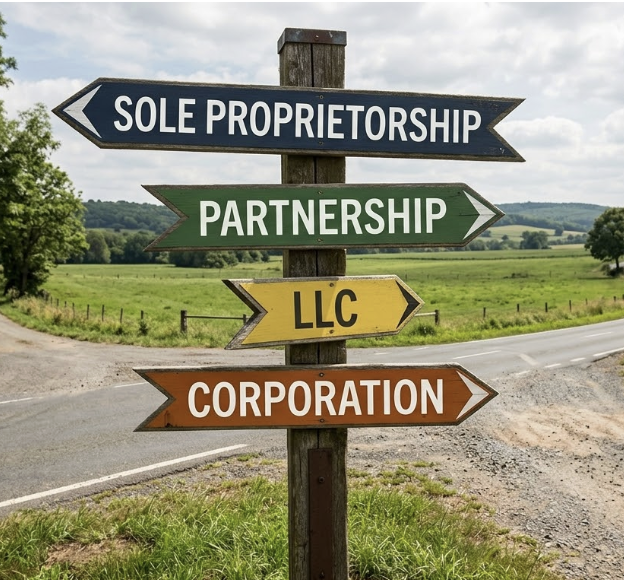
To register your business, start by choosing the business structure you want to form, whether an LLC, C Corp, or sole proprietorship. Many sellers and independent business owners, in general, register their businesses as an LLC to protect their business from any future liabilities and have “pass-through” taxation, among other benefits.
After registering your LLC on your state’s website, you then need to obtain an EIN from the IRS. An EIN establishes your business for tax purposes and is necessary to have when opening a business bank account. When applying for a business bank account, you’ll need to supply documents, including your EIN confirmation issued by the IRS, your LLC’s Articles of Organization or Certificate of Formation, proof of a registered business address, and a valid government-issued ID like a passport or driver’s license to prove that you own and operate your business.
Step 3: Create Your Account
Now that your business is officially established, you can then sign up for an Amazon seller account. When starting the process, Amazon will first ask you to choose between an ‘Individual’ or a ‘Professional Seller’ account. With an ‘Individual’ account, Amazon deducts 0.99 cents per product sold. A ‘Professional’ account costs $39.99 a month. Amazon allows sellers to change their plan at any time after setting up their account. Professional seller accounts come with more advanced features, such as advertising your products with Amazon’s in-house ads system, access to enhanced product pages, and the ability to sell products worldwide.
To register, you’ll want to have all your business documents handy. Amazon will ask you to enter your business name, address, EIN, and your business’s bank account and routing number to get payments from your sales. You’ll also need to provide a reachable phone number to receive a one-time verification PIN code by text or call, to then enter it in the confirmation section of the application page. You also need to list the full name of your business’s primary contact person (yourself), which needs to match the exact name of the person’s government ID, who is filling out the application.
On the seller’s page, Amazon requires you to enter personal information about yourself as your business’s primary contact person. It’ll ask you to select the country you were born in, your country of citizenship, and your date of birth. You’ll also need to provide your residential address, mobile phone number, and select from the options that list if your business’s primary contact is either the beneficial owner of your business, a legal representative of your business, or both. You’ll also need to provide credit or debit card information, which Amazon requires all sellers to keep on file for seller subscription billing.
You’ll then need to provide some general information about your Amazon store, like your business’s display name, which customers will see listed under your products, an active registered trademark, and whether you already have UPCs (universal product codes) for the products that will be listed on your storefront.
Amazon will also ask you to verify your identity by uploading a government-issued ID, whether a driver’s license or passport, as well as proof of residence documentation, either in the form of a bank statement or utility bill. Amazon will then let you choose between taking a real-time selfie or joining a video call with an Amazon representative to prove you are the person registering your seller’s account.
Step 4: Enroll in Amazon’s Brand Registry
Amazon lets sellers protect their brand and the products they sell by offering their own protection registry. Amazon’s Brand Registry offers enhanced brand protection for businesses with actively registered trademarks. To register, start by creating an account with the same credentials you used to create your Amazon Seller profile. Once you’re logged in, click the option that says ‘Enroll a Brand’, and then select ‘Enroll Your Brand.’
After that, you’ll then be redirected to another page to fill out your brand’s name that exactly matches your trademark certificate, select the exact trademark office that issued it to you, which would be the USPTO (United States Patent and Trademark Office), for sellers based in the U.S., and provide your trademark’s official registration or serial number. You’ll then be required to upload a high-resolution image of your trademark’s logo if you use a design mark for your logo. You’ll also have to upload an image that shows your brand name or logo is permanently displayed on the products you’re going to sell, or on their packaging. Amazon may also ask you to furnish additional documents related to your brand and trademark, such as your official trademark certification or a letter that proves you’re the authorized trademark owner.
You’ll then be asked to confirm whether you’re an Amazon Seller, vendor, or neither. You’ll then need to select the category or categories your products are associated with, along with listing ones for future products. You’ll also need to enter and confirm your business’s manufacturing and distribution information, and provide additional documentation where necessary. If you have any existing Amazon storefront product listings, you’ll then need to list the ASIN for the best-selling products in each category.
After submitting your application, Amazon will send a verification code to the email of the person listed as part of your official trademark registration, which could either be you or an attorney you used to complete the trademark registration process with the USPTO. As an extra security measure, Amazon requires brand registrants to provide that confirmation code within 10 days. Once you receive the code, navigate to the ‘Case Log’ tab on your Brand Registry’s homepage and select the ‘View/Respond’ option next to the specific case request from Amazon’s Brand Registry Support team. In the reply email, you’ll need to provide a confirmation code as well as your case ID number, which can be found near the title line of the case entry in your account portal. You’ll then need to wait for Amazon to approve your Brand Registry application.
Step 5: List Your Products
After you get approved, you can then list your products. Before creating product detail pages, Amazon recommends doing a quick search in the ‘Catalog’ section of your seller profile under the ‘Add Products’ tab to make sure that what you’re selling is not already listed on their site. Once you’ve reached the ‘Add Products’ page, you can type in your product’s universal product code, JAN, ISBN, or EAN code to verify this information.
To list a brand new product, select the ‘Create a New Listing’ tab, which will prompt you to provide more details about your product and the price you’ll sell it for. Then, choose your product type or category from the corresponding dropdowns, and select a subcategory if applicable. Some categories will display a “Learn more” phrase with a lock icon next to it, meaning that you need to apply to get approval to list a product in this category.
You’ll then want to enter your product’s name, ID number, business name, and manufacturer, as well as other details like the product’s price, any discounts, and whether it’ll be fulfilled by Amazon or shipped directly from the manufacturer. Amazon enforces a Fair Pricing Policy and Policy on References Prices that all sellers must adhere to when listing product costs. After entering all your product’s details, you’ll then be required to upload a minimum of one image per product listing. When uploading images, you have to follow Amazon’s image listing guidelines, which require pictures to have a clear resolution and be in JPEG, PNG, or TIFF format, among other requirements.
When listing your products, you can mark that they come in various sizes, colors, or designs, if they’re available in different variations. Amazon also gives sellers the option to add other features to product detail pages, like a detailed description, keywords for search ranking, as well as compliance verification for products that require it. Once you finish uploading all your products, it’ll take approximately 24 hours from the listing time for them to officially show up in your product storefront, if Amazon approves them.
Step 6: Launch Your Store and Start Selling
Once you’ve set up your product pages, you can then launch your store. With an analytics dashboard that’s personalized for each business, Amazon allows you to track key metrics like the amount of sales you make in a single period, the amount of views your storefront gets, and the number of unique conversion rates your store has received.
When running your store, it’s important to double-check that the information listed in your product descriptions is correct and up-to-date. It’s also important to keep track of your business’s inventory on your seller profile to make sure you don’t over or understock products. It’s also key to respond to customer inquiries via your Seller Central Profile and keep track of the product reviews you get so that you can acknowledge this feedback and make improvements to your product offerings where necessary.
Amazon is extremely strict with its customer review policies and prohibits incentivized reviews or other means of garnering fake or fraudulent reviews. Doing so can lead to your account being suspended and prevent you from selling on the platform.
Take a look at our news on Business Essentials

 by Shanel Pouatcha

 by Nick Perry
 by Nick Perry
 by Shanel Pouatcha
 by Shanel Pouatcha
 by Shanel Pouatcha
 by Nick Perry
 by Shanel Pouatcha
 by Nick Perry
 by Nick Perry
 by Nick Perry
 by Nick Perry