How to Schedule a Post on Instagram in 4 Steps

November 7, 2025

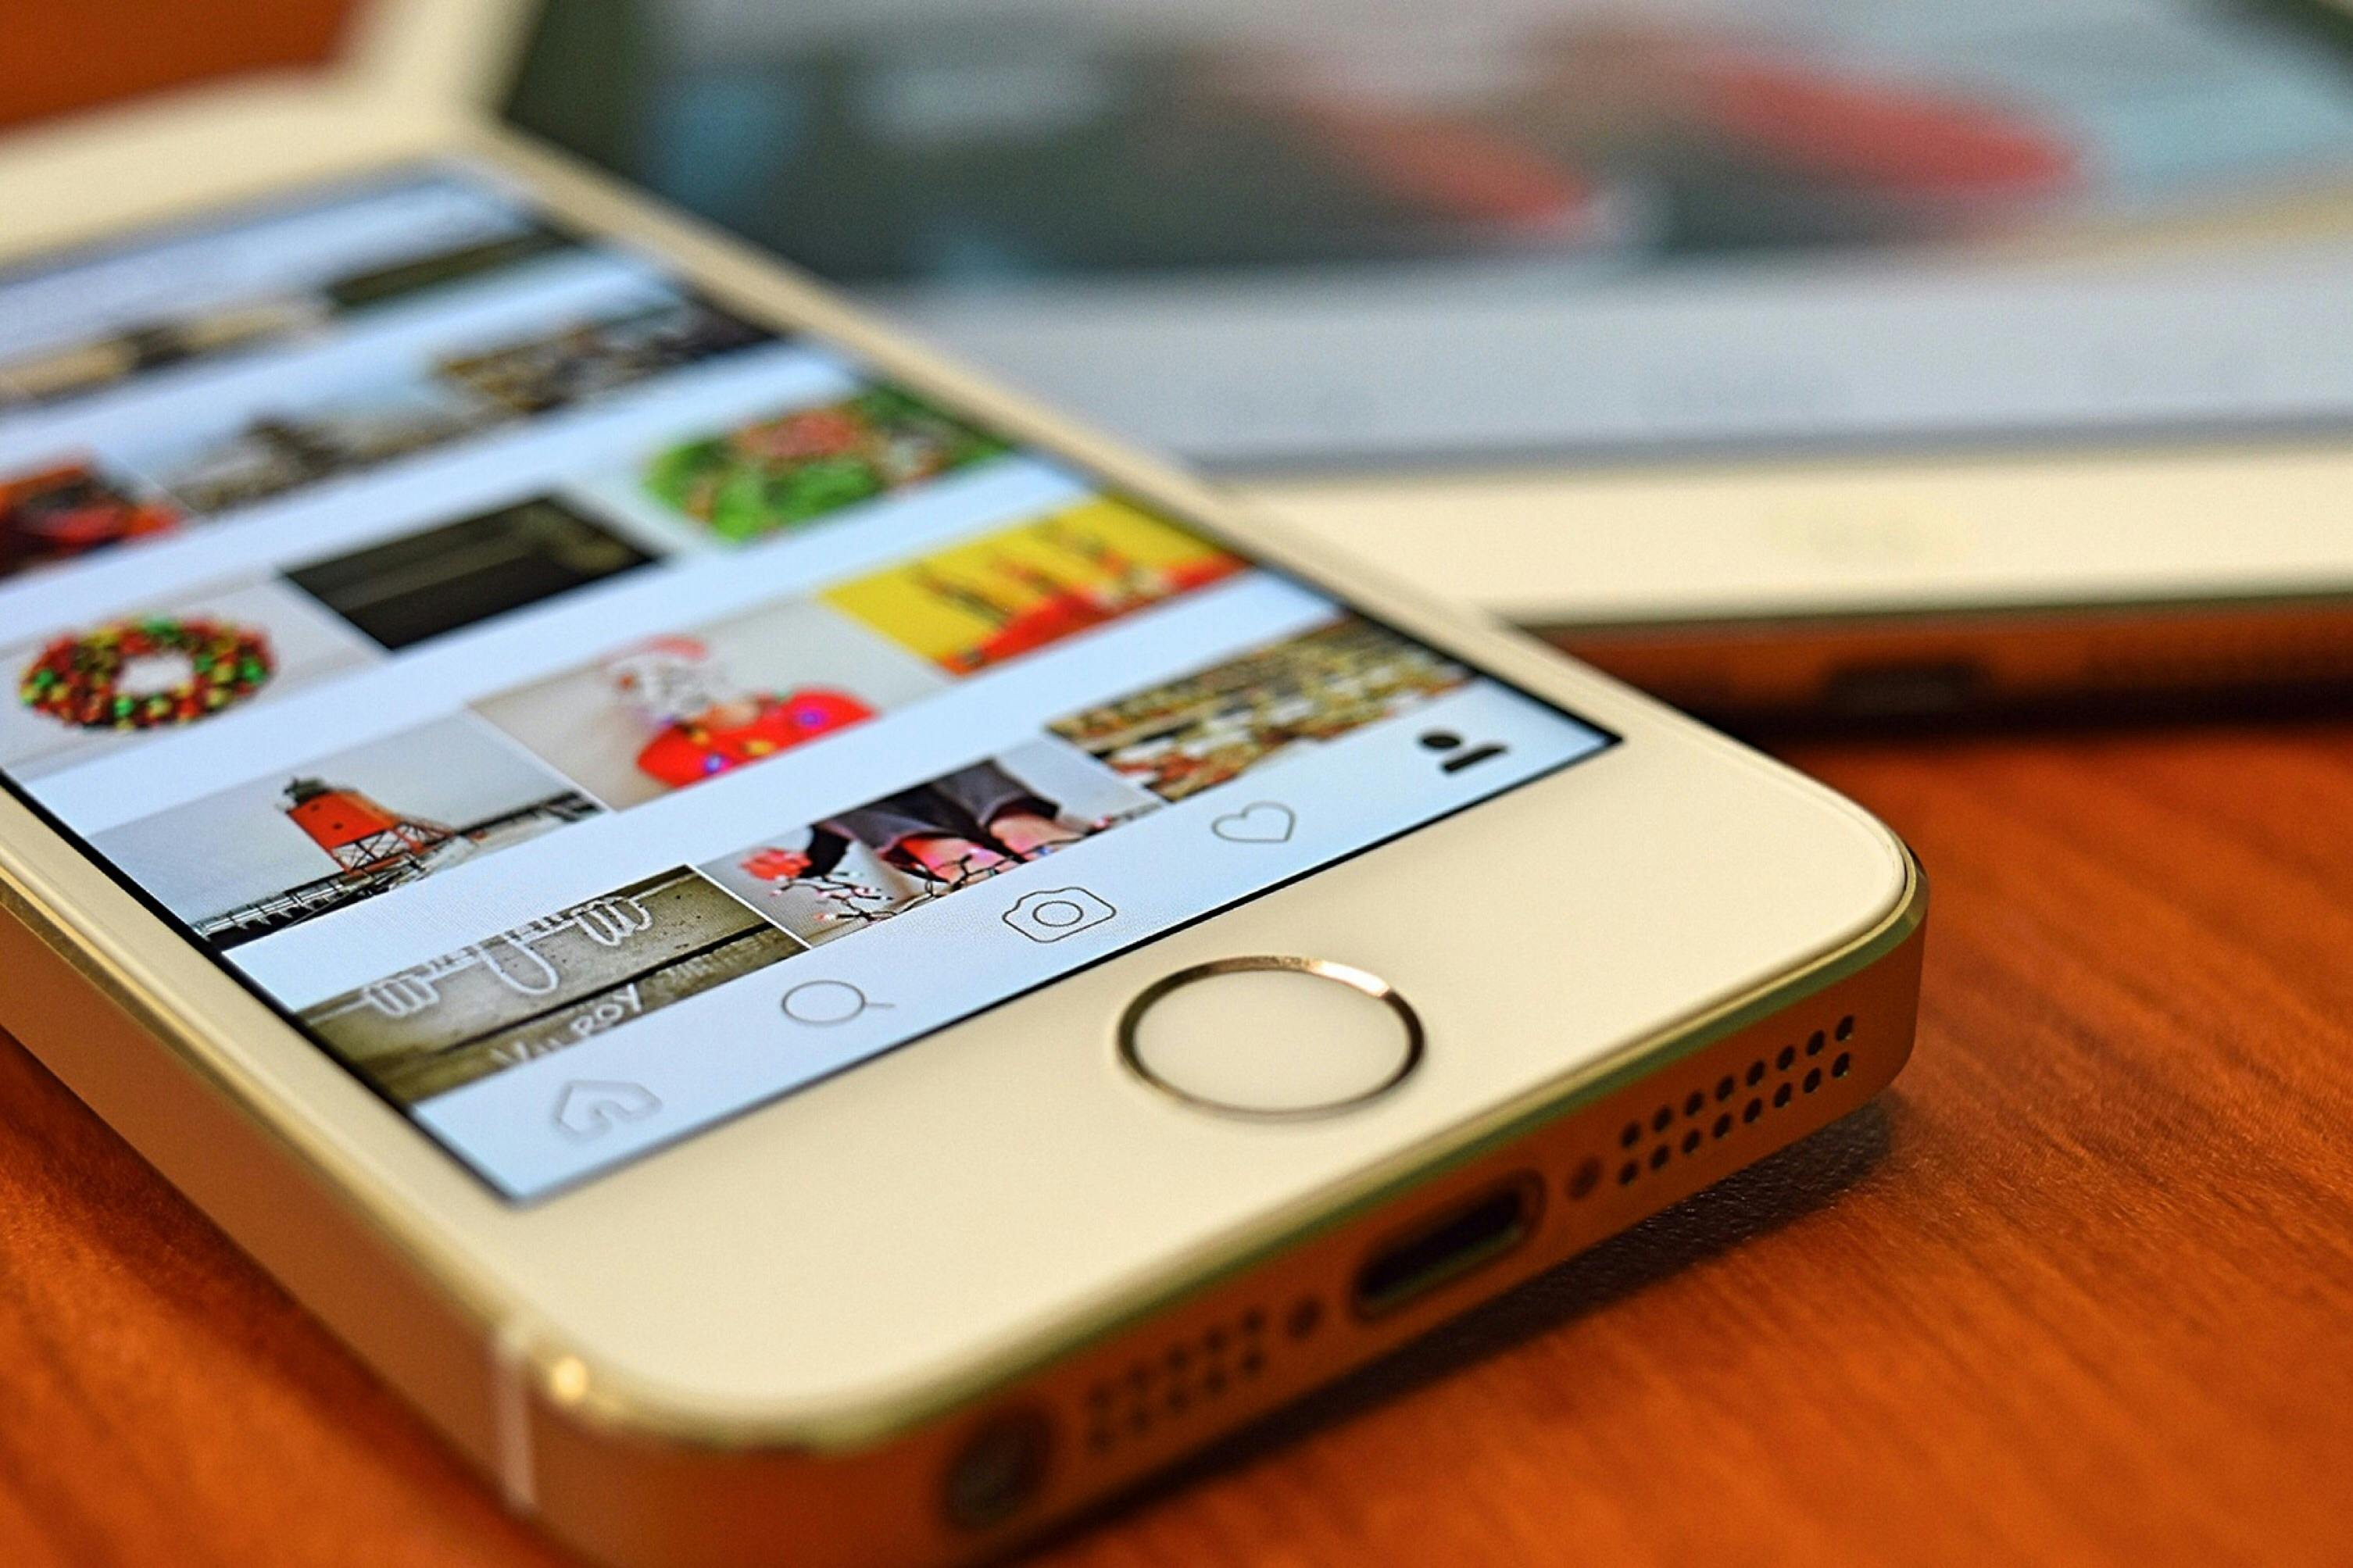
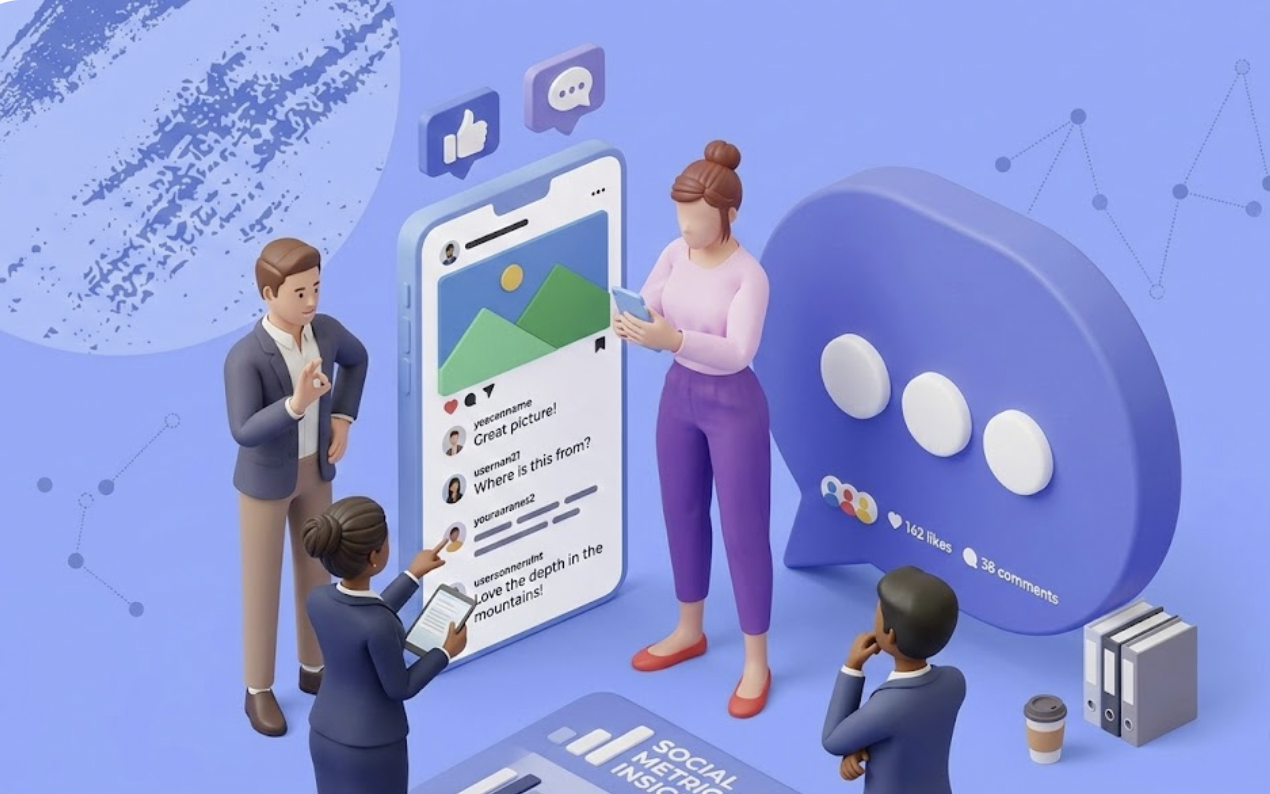
Social media platforms come with many features and capabilities that make the user experience seamless and more enjoyable. From Instagram, to TikTok, Snapchat, and YouTube, users can share content and interact with others while adhering to a platform’s specific rules and guidelines. Social media platforms also allow users to promote their business endeavors so that they can grow a loyal following, generate revenue, and reach a wider audience.
Platforms like Instagram, have evolved over the years and experienced numerous updates that also makes the app more dynamic and easy-to-use. Since its introduction, Instagram has unveiled a variety of notable features, such as Reels, which is the platform’s short-form video content, Stories, which can be posted to a person’s profile and shows up for a limited time, carousels, which allows users to share multiple grid pictures as part of a single post, as well as highlights, which allows users to add featured stories post to their profile that shows up when clicking on their profile.
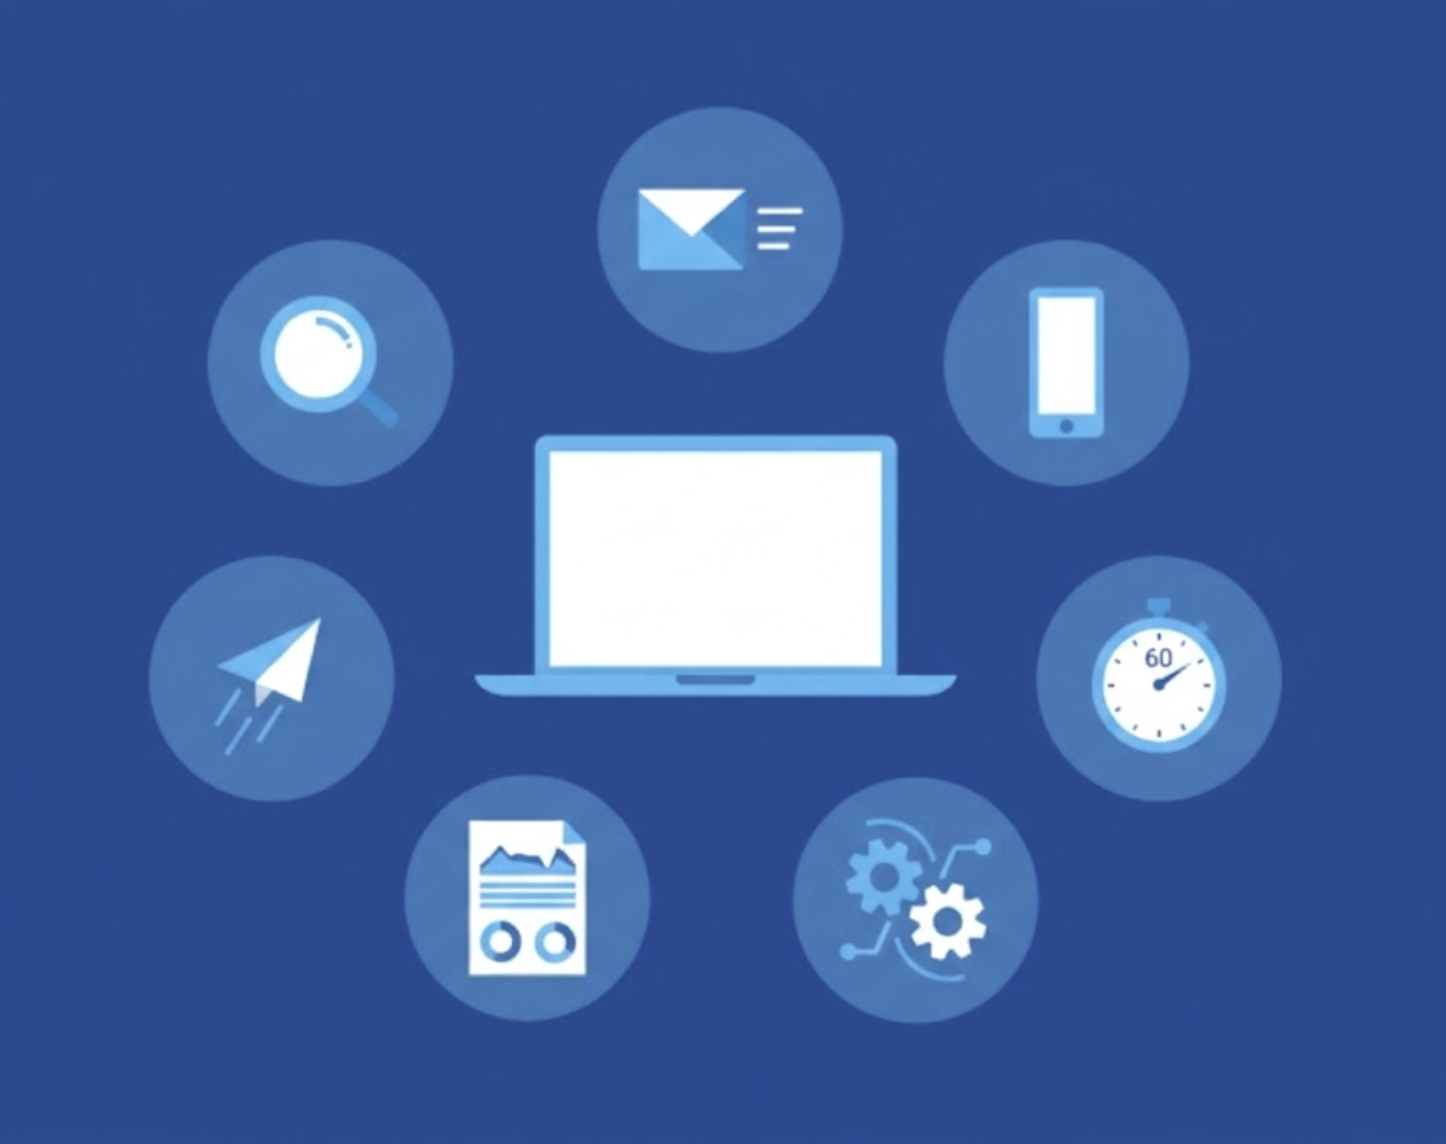
Instagram also has a feature where users can preschedule posts, which is helpful for businesses and individuals alike to post content on-time in case they forget. This feature, which was first unveiled back in 2022, allows users to schedule their Instagram posts up to 75 days in advance from the date the post was generated. This update followed Instagram’s 2018 capabilities, which allowed users to integrate with third-party social media tools, such as SocialFlow and Hootsuite, in order to schedule posts since these platforms can connect and integrate with a user’s social media profiles, including Instagram.
Since its 2022 update, users can now schedule posts directly within the app and make edits to scheduled posting times as well, as long as it’s within the 75-day period. If you want to learn how you can use this feature as a content scheduler for your next posts, check out how you can do so below in just 4 steps.
Step 1: Log Into the App and Select the ‘Create’ Button
To get started, log into Instagram’s mobile app using the username and password that’s associated with your account. From there, once you’re logged in, navigate to the ‘create’ button, which is located at the top right-hand corner of your home page feed screen in order to create a new post. The ‘create’ button looks like a plus sign with a box outlining it and is located next to your stories and highlights.
Step 2: Select the Content You Want to Schedule
Next, you’ll want to choose the content you want to schedule. In order to select the picture, carousel images, or short-form Reel you want to upload. For this step, you’ll also want to make sure that Instagram has access to select photos or videos you want to post, which can be configured by going to your device’s settings and selecting the right ones. After making your selections, follow the next posting prompt steps as if you were going to upload the post in real-time by adding a caption, any accompanying hashtags, and using any in-app filters or effects that are compatible with your images or videos. After you’re done, click ‘next’ to move onto the next screen as if you’re getting ready to post.
Step 3: Tap the ‘Advanced Settings’ Feature and Enable the Scheduling Tool
On this screen, you’ll now be able to enable the app’s scheduling tool by tapping on the ‘advanced settings’ feature, which is located above the other select features within the app. From there, toggle on the scheduling tool and select the date you want to schedule it to be posted. Keep in mind that you have up to 75 days to schedule it from the day you use the scheduling tool. If you want to change your post’s scheduling date to a date and time after completing this step, you can do so by logging back into the app and following the exact prompts to reach this step again and redo the process.
Step 4: Select ‘Done’ and ‘Schedule’
After choosing the exact date and time you want the post to be scheduled for, make sure your selections are saved by tapping the ‘done’ and then ‘schedule’ button, which will prompt the system to save your post successfully. You can also double-check that your scheduled post is saved by navigating to the ‘create’ button again at the top of your home screen feed and viewing it within the post creation tool settings.
How to Manage Your Scheduled Posts
Now that you know how to schedule posts within the Instagram app, it’s also helpful to keep in mind these key tips when managing all your scheduled posts:
Viewing Your Scheduled Posts
You can view all your scheduled posts by heading back over to the ‘create’ button within the Instagram app and viewing all the posts you’ve scheduled from there, and make any changes as deemed necessary, such as editing captions, hashtags, a photo’s included filter effects, or adding more images to a single scheduled post if you’re creating a carousel.
Scheduling Multiple Posts At Once
You can also schedule multiple posts at one time by following the above prompts and scheduling them individually and saving them accordingly so that they can be posted automatically at a later time.
Deleting a Scheduled Post
If you want to remove a post you had already scheduled, you can do this by going to your ‘create’ button again, looking through the posts you’ve already scheduled, and selecting the ‘delete’ button to remove it from your scheduled posts entirely. If you decide you want to reschedule it after deleting, you’ll need to follow the same above steps again to schedule it as if it were a brand new post.
Take a look at our news on Marketing & Sales

by Nick Perry


by Nick Perry

by Nick Perry

by Shanel Pouatcha

by Shanel Pouatcha

by Shanel Pouatcha

by Shanel Pouatcha

by Shanel Pouatcha

by Shanel Pouatcha

by Shanel Pouatcha

by Nick Perry