These days, as social media apps continue to evolve, there are many features across each platform that enhance the user experience. Whether it’s a variety of editing tools to enhance users’ posts, badges that highlight milestones, or analytics to track engagement, they all offer unique features that are tailored to what their platform stands for and how they operate.
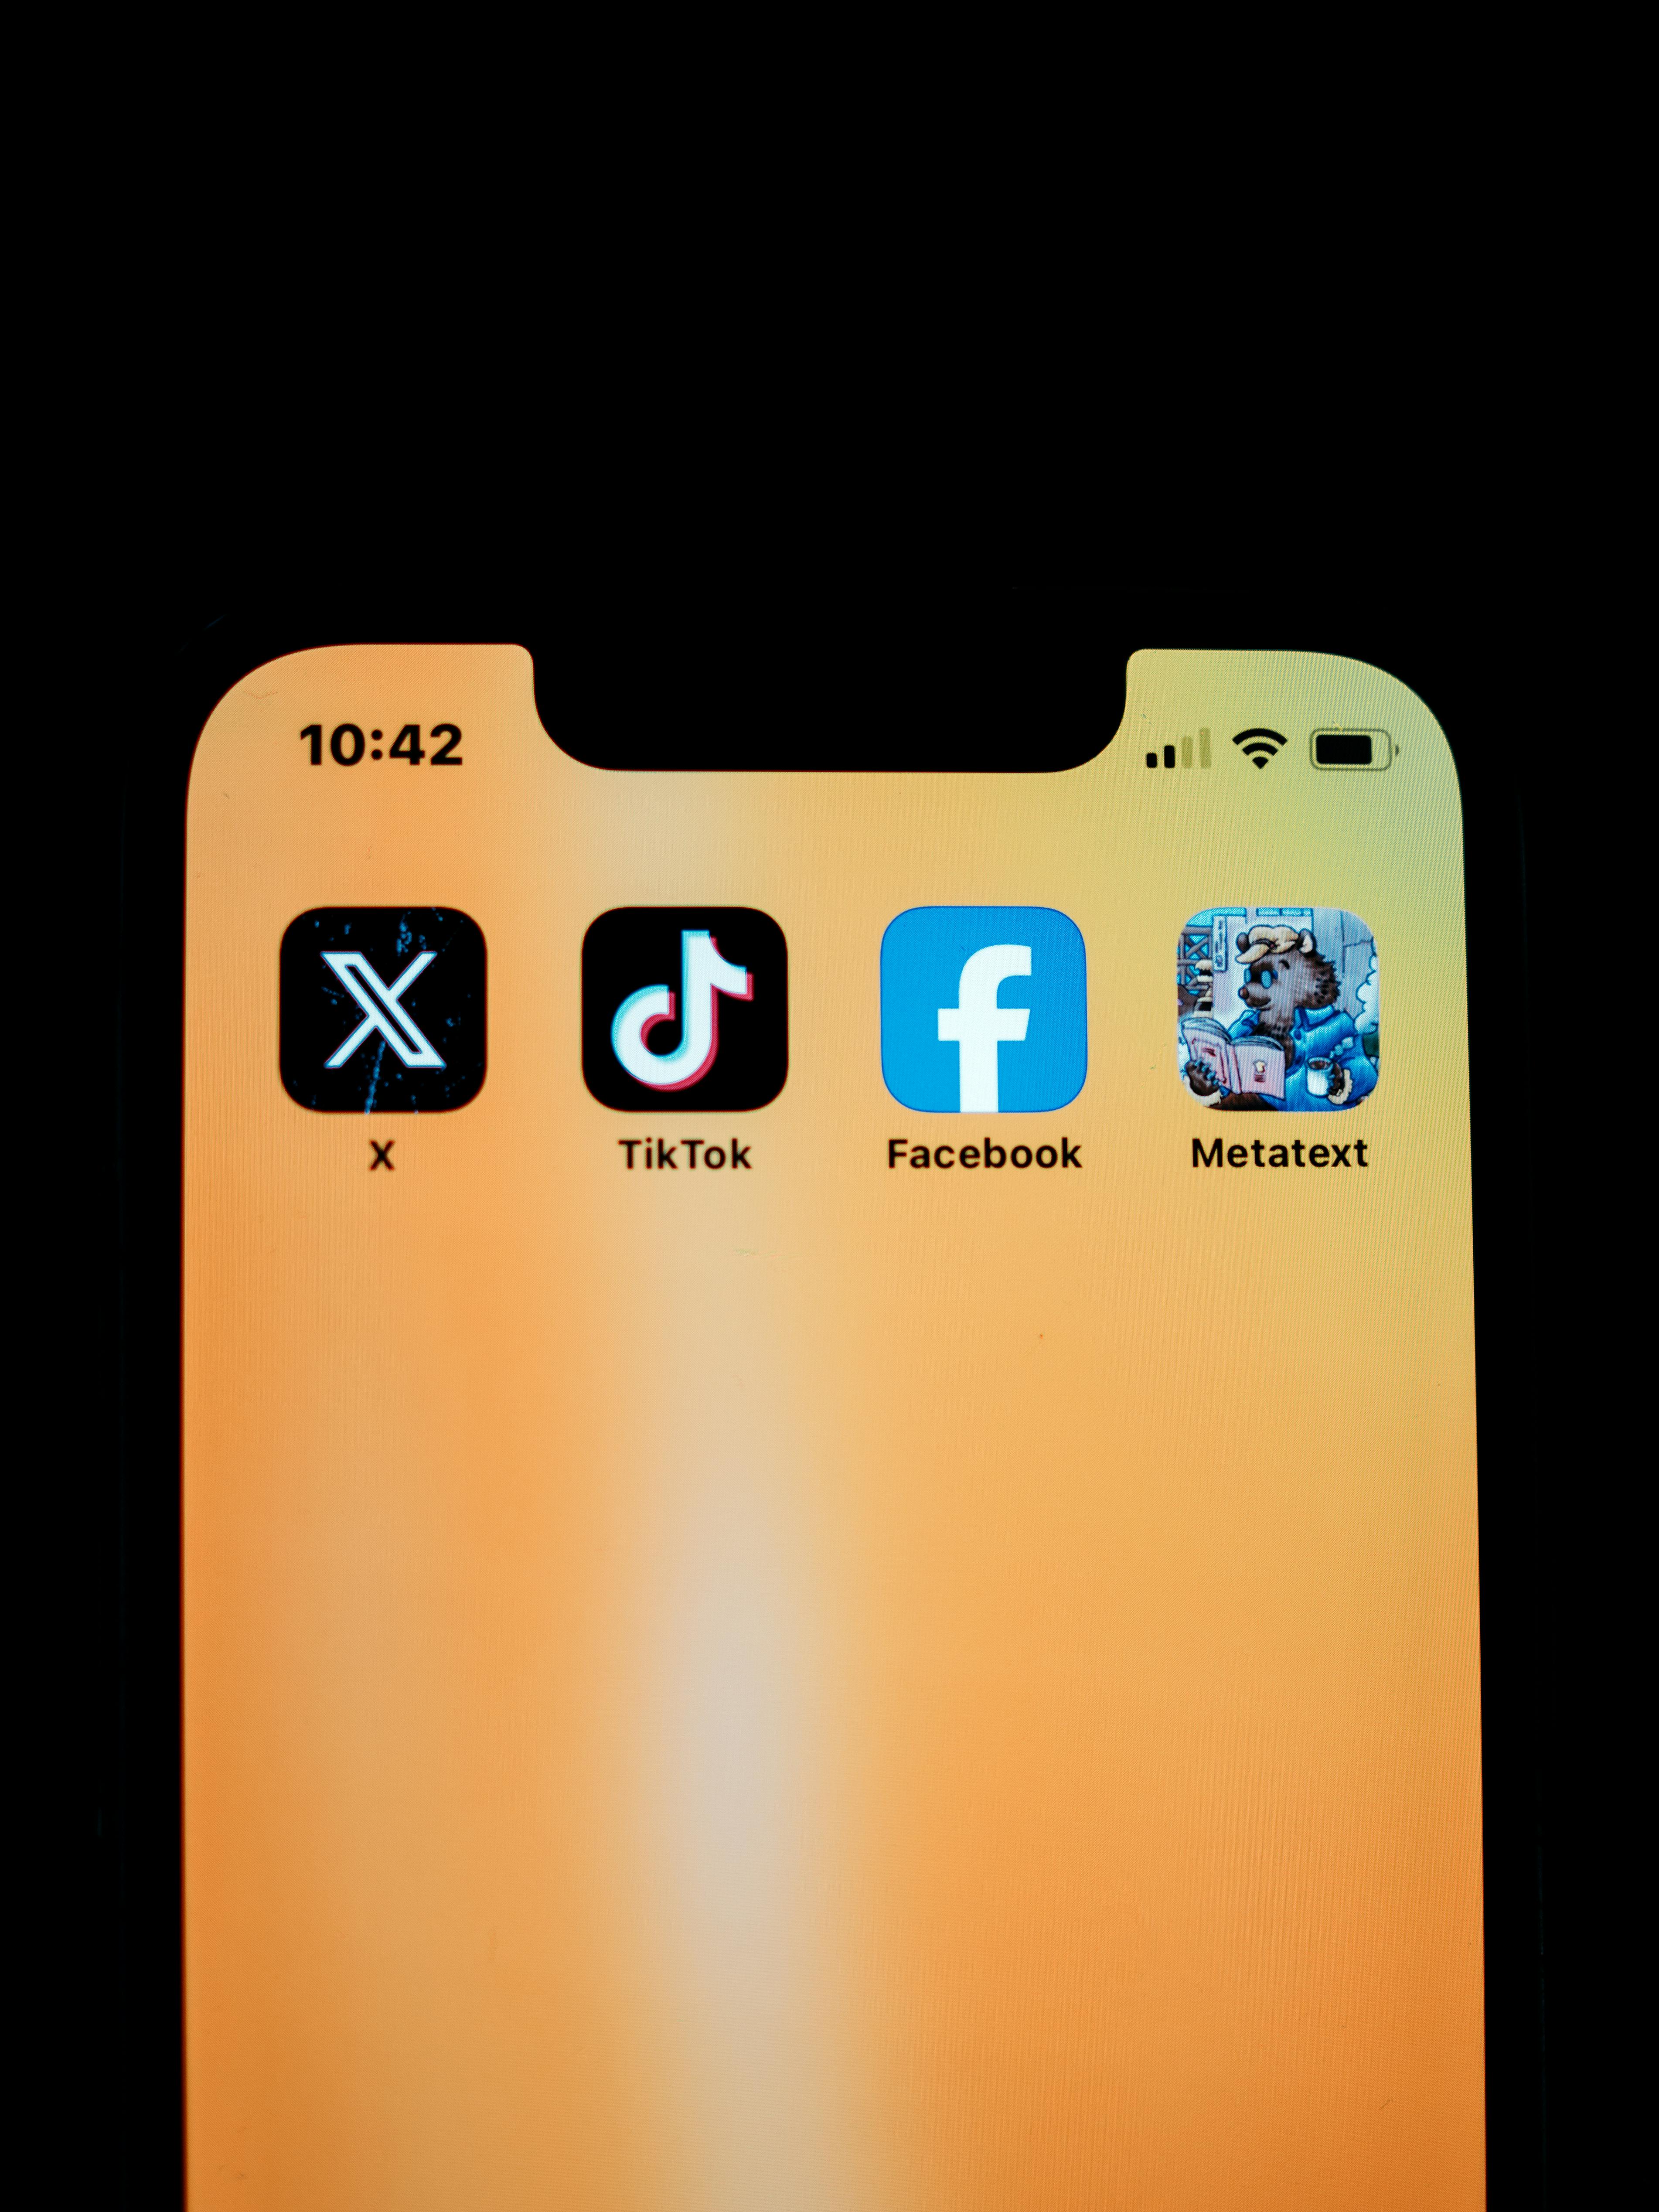
Across the board, social media platforms like Facebook, X (formerly known as Twitter), Snapchat, and Youtube, allow users to receive profile verification, which is often shown as a checkmark. This verification is helpful because it shows that their profile is authentic, which boosts its credibility. And it’s also used for privacy and security reasons to help protect against impersonator or spam accounts.
While account verification was once reserved for public figures, social media platforms like Meta’s Facebook and Instagram, have expanded this feature to include everyday users who can apply for verification on each platform. All it takes is submitting an application, providing proof of your identity and a reason for verification, and ensuring your account follows community guidelines and remains in good standing at all times. If you want to learn how to become verified on Facebook, check out the step-by-step guide below.
1. Determine Your Eligibility
As with any social media platform, your profile must be in good standing and meet certain criteria based on the platform’s policies before you can get verified. In the case of Facebook, you need to be at least 18 or older and have a clear, appropriate account profile picture that shows who you are. If you’re a business, your profile picture should be your official business logo. In tandem with your profile picture, you want to make sure you have a complete bio and profile name that accurately represents your account.
To ensure your account is seen as active and authentic, you want to make sure that you’re creating engaging content and posting consistently. Many individuals use their personal accounts to share content about themselves, friends, family, or things they enjoy, while businesses promote their products and services, and creators tend to focus on areas such as affiliate marketing by posting product reviews.
To become verified on Facebook, you also have to pay for a monthly subscription after your application is approved in order to maintain your blue checkmark. Subscription costs currently range from $11.99 per month to $349.99 per month, depending on whether you subscribe via web browser or the app, and if you choose a subscription plan for a business or creator account.
2. Gather the Necessary Documents
Before filling out an application, there are certain documents you’ll need to have available in order to apply. Meta, like other social media platforms, requires these documents to ensure that the person or business that’s applying for verification is legitimate, helping to combat impersonation and protect users’ identities and accounts.
To apply for verification, you’ll need to provide an official, government-issued ID, such as a passport, driver’s license, or national ID card. The name that’s listed on your ID must match the name on your profile in order to prove your identity.
For businesses, you’ll need to submit official business documentation, such as Articles of Incorporation, a Certificate of Formation, a registered business license, or a tax filing. These documents prove that your business is valid and properly registered, so that you’re able to promote and sell your products on the platform.
3. Fill Out the Application
Now that your documents are ready, it’s time to apply. Head over to Meta’s verified page, log into the account you want to verify, and begin filling out the application. It will first ask you if you’re verifying as an individual/creator or as a business.
After selecting your account type, the application will then prompt you to provide a few details about your account, including your profile name and its URL. You can find your profile or page URL by navigating to the address bar at the top of your screen while on the page where your posts and profile info appear. Or, if you’re on the app, go to the ‘Menu’ tab and click the three dots next to where it says ‘Edit Profile.’ Then, go to ‘Your Profile Link,’ press ‘Copy Link,’ and then hit ‘Ok’ once you’ve copied the link. Once you’ve located it, copy and paste it into the field where it asks to include it on the application.
Next, you’ll be asked to upload the required documents either in a .JPG, .PNG, or in PDF format. When uploading each document, make sure they are clear and easy to read before submitting, and that they do not exceed 10 MB.
After uploading your documents, you’ll be asked to provide a reason for obtaining verification. If you’re an individual, you can say that you want to get verified for credibility reasons. Or, if you’re a creator, you can highlight how you’re actively building or already have an online presence. For businesses, you can say that you want to establish brand authenticity and protect your business and customers from potential impersonation accounts.
Giving a specific reason is important because it helps Meta understand the purpose of your account and why you want to become verified.
4. Wait For a Response
Now that you’ve submitted your application, you’ll need to wait for a response. You can typically expect to wait anywhere from several days to a few weeks before hearing back. Once your application has been reviewed, Facebook will send you a notification letting you know if your application was approved or denied.
If you’re denied, common reasons include having an incomplete profile, such as a missing profile picture, bio, or an inactive account. Your application can also be denied if the documents you provided are blurry or unclear or couldn’t be verified. You can submit another application after 30 days, this time making sure all the required updates and information are included.
5. Keeping Your Verification Intact
Once verified, you want to make sure your account remains in good standing. This means following Meta’s Community Standards and Terms of Service at all times. If Meta suspects that you’ve violated their policies, your verification may be revoked and you may become ineligible to get it back.
Keeping your profile information accurate and up-to-date is another major factor in maintaining verification. You want to avoid making any significant changes to your account, such as to your profile name and bio, since these updates can lead to your account being flagged, especially if the information doesn’t match what you originally included in your application.
To keep your account in good standing and your verification intact, make sure that you’re also posting authentic content on a regular basis, and not engaging in spam-like behavior or sharing false or misleading information. You also want to make sure that you keep your account active by regularly liking, commenting, or sharing content you come across on your feed or discover on the platform. By following these rules and best practices, you’ll be able to keep your account verified and good standing with Meta.